Call us today! 800.483.6354
Call us today! 800.483.6354
Many improvement and construction projects involve nailing or screwing into concrete. Common situations include:
If you’re like some DIYers and contractors, you find using concrete screws to be frustrating and difficult. However, when equipped with the right tools, fasteners and tips provided in this article, you can employ this useful fastener with ease and confidence. Learn more about how to put screws into concrete below.
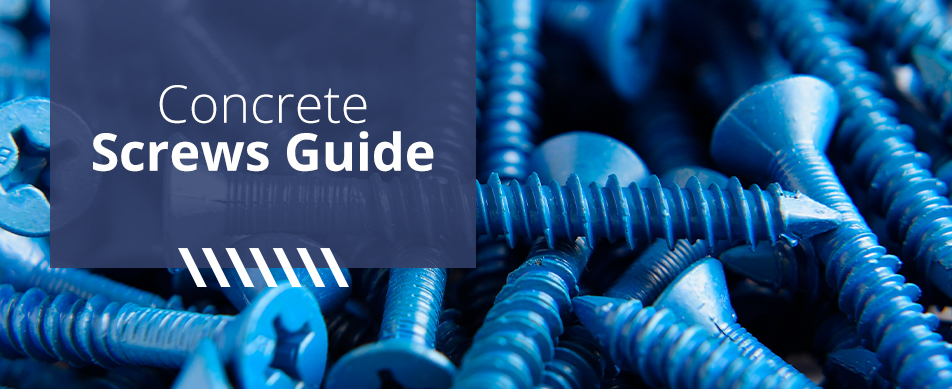
 What are Concrete screws?
One of the most common types of concrete screws are Tapcon® screws. These screws are brand-name masonry screws used for light-duty fastening to brick, block, concrete and masonry materials.
Recognized by specific features, Tapcons® are often called “blue screws” for their color or “concrete screws” for their purpose. Tapcons® are available in various sizes and can fasten fixtures to several surfaces. They take their name from how they work — the screws “tap” threads into the material that surrounds the hole. Tapcon® head types include hex heads and Phillips flat heads.
Two material options for these screws protect against corrosion and rust — Blue Climaseal® coating over carbon steel and 410 stainless steel composition. The blue screws work well for indoor projects, while the silver variety are made with stainless steel and will last longer in harsh environments.
concrete screws are available in 3/16- and 1/4-inch diameters. The 3/16-inch diameter concrete screws come in lengths between 1 1/4 inches and 4 inches. For the 1/4-inch diameter screws, there are additional options in 5- or 6-inch lengths.
The embedment range is 1 to 1 3/4 inches. To determine the screw’s holding values, you need to know the base material’s quality.
The opening’s diameter and depth are significant for a tighter fit. For 3/16-inch screws, you need to make a 5/32-inch hole. 1/4-inch screws require a 3/16-inch hole. Regardless of hole diameter, the depth must be 1/4 inch deeper than your concrete screws.
Concrete screws provide one of the easiest ways to fasten fixtures to concrete, and unlike many other types of fasteners, you don’t need a shield or anchor for installation. You also don’t have to do any hammering. All it involves is drilling a hole, cleaning the hole and driving the screw in — which is why these fasteners are referred to as self-tapping concrete screws.
Concrete screw fasteners, known commonly as Tapcons®, look similar to wood screws but have high-low threads, which bite the hole’s side tightly. They’re available in 3/16- and 1/4-inch diameters and in lengths as long as 3 3/4 inches. You can choose between Phillips- and hex-head styles and use them on various surfaces, including concrete block, poured concrete, brick and the mortar joints between the block and brick.
Here are some important considerations to keep in mind when drilling screws into concrete.
Once you have the correct length and type of screw and get a hammer drill with a carbide-tipped masonry bit, follow the steps below for how to screw into concrete:
All Points Fasteners offers dependable, strong and durable concrete screws at an affordable price. A wide variety of service professionals — including HVAC, roofing and gutter contractors — come to us for our vast selection of concrete screws and other fastening options.
Our concrete screw selection includes both hex washer heads and Phillips flatheads and is available in quantities ranging from 500 to 8,000. All boxes include one masonry drill bit for drilling the right-sized hole.
At All Points Fasteners, you get more than just high-quality products at reasonable prices — you also get a customer service team devoted to helping you find the best fastener for your application. If you’re having trouble securing materials, we will track them down for you and provide you with as much information as you need before you begin your project. Just use the live chat feature on our website, call us at 800.483.6354 or fill out our online form.
We look forward to helping you find the perfect concrete screws for your project!
Head Screw Lady Since 1986! Specializing in breaking down the language barrier between suppliers and end users. During her 35 years working in the fastener industry, MaryLouise has worked directly with end users, contractor’s, OEM’S and DIY, as well working within the import industry, working with fastener manufacturers and distributors. This has given her the unique perspective of having the technical knowledge needed to perform in the fastener world but also be familiar with the needs of end users who don’t necessarily know the fastener jargon or applications to know exactly what they need for their jobs.
site by RobinSpurs.com