Call us today! 800.483.6354
Call us today! 800.483.6354
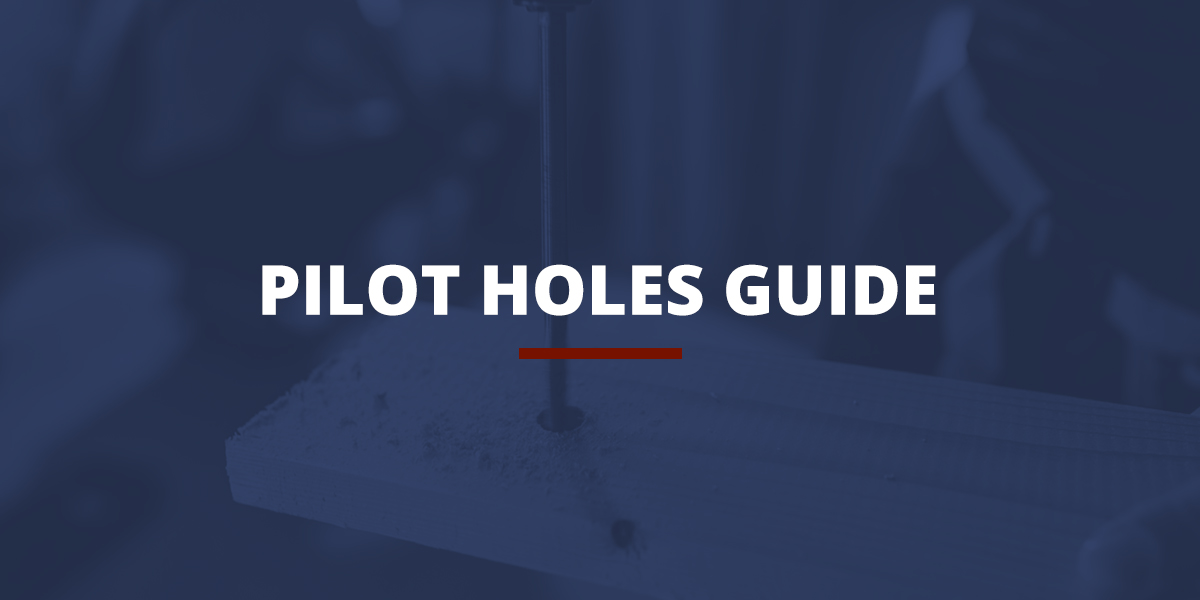
If you’re working on a woodworking project, there’s nothing worse than throwing away a good piece of wood because of a mistake during assembly. Pilot holes are an excellent way to prevent these mistakes, so you don’t lose materials during your projects.
Pilot holes are drilled into wood or other materials before you fasten them with a screw. There are many reasons it’s wise to drill a pilot hole, including preventing unnecessary damage to your materials and spending more to replace them. Learn more about when you should drill a pilot hole, how to drill a pilot hole and how to know what size you need.
If you’ve ever assembled furniture you’ve bought from a store, you’ve likely noticed small holes where you’re meant to put the screws. While these pre-drilled holes act as reference points, they’re also pilot holes.
These holes help reduce the force you must use when screwing into hardwoods, such as oak and maple. When you screw into hardwoods without a pilot hole, you’re using force to push wood out of the way to create space for the screw. Since the wood that’s forced out of the way doesn’t have anywhere to go, it applies more pressure to the wood surrounding the screw, which can weaken, split or crack the wood.
While drilling pilot holes means you’ll have to take more time fastening pieces together, you’ll make up for it by eliminating the risk of having to start over or buy new materials, which can significantly slow down your project. Pilot holes for screws can do more than protect your wood from splitting or cracking. It can also minimize the risk of screws breaking from force and reduces the chance of stripping the screw head. A little preparation can go a long way in saving your material from damage.
It’s essential in some situations to drill pilot holes for wood screws to ensure you don’t damage your wood. The three instances when you should drill a pilot hole include:

Generally, the pilot hole size for wood screws should be approximately the same diameter as the screw’s shank minus the threads. Woodworkers often make the pilot hole too small, believing a tighter space will make the screw hold better. However, a screw only pulls two pieces of wood together. The joint’s strength has little to do with the screw itself, so using a slightly larger or smaller pilot hole makes little difference.
Of course, drilling a pilot hole requires a drill bit to drill into the wood. When choosing your drill bit, you want to choose a size that’s appropriate for your screw size and wood type. Softwoods generally require a pilot hole that’s a little smaller than the screw shank diameter, while hardwoods need one that’s a little larger since they are less likely to compress under the screw’s pressure. If you aren’t sure which size drill bit to use, choose one that’s 1/64 inch larger than the diameter of the screw’s shank.
You might have a few questions if you don’t have much experience using pilot holes. Below are some frequently asked questions to help you better understand pilot holes and how to use them to improve your projects.
While creating a pilot hole isn’t always necessary, they prevent material damage and make it easier to drill in the screw. Attempting to drill in screws without creating a pilot hole first can crack the wood or otherwise damage the material. The screw may also become misaligned and break through the side of the piece or be at an angle that doesn’t hold pieces together well.
Drilling a pilot hole is simple. Once you’ve chosen an appropriate size drill bit, drill a hole in the wood where you’ll put the screw. After the pilot hole is ready, you can insert and fasten the screw and progress with your project. If you’re struggling to get your screw into the pilot hole, you can drill a slightly larger pilot hole instead of trying to force the screw into the wood.
The length of your screw determines how deep your pilot hole should be. The hole should be as long as the screw so you can drill it in without too much effort. However, making a pilot hole too long removes extra wood and can potentially weaken your project. You can add a piece of tape to your drill bit to mark how deep to drill, or you can use a drill stop to determine and produce the exact length you need.

Head Screw Lady Since 1986! Specializing in breaking down the language barrier between suppliers and end users. During her 35 years working in the fastener industry, MaryLouise has worked directly with end users, contractor’s, OEM’S and DIY, as well working within the import industry, working with fastener manufacturers and distributors. This has given her the unique perspective of having the technical knowledge needed to perform in the fastener world but also be familiar with the needs of end users who don’t necessarily know the fastener jargon or applications to know exactly what they need for their jobs.
site by RobinSpurs.com